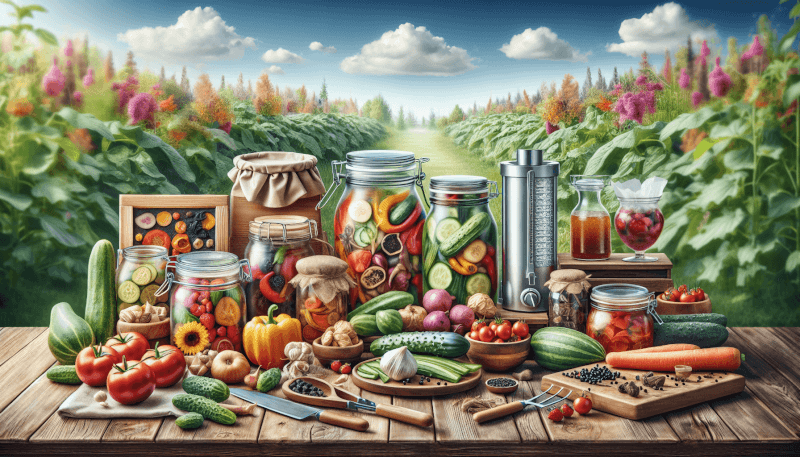
Are you tired of your garden’s bountiful harvest going to waste before you even have a chance to enjoy it? Look no further, because in this article, we will explore the best methods to preserve your garden’s harvest, allowing you to savor the delicious flavors of fresh produce all year round. From canning to freezing, drying to pickling, we will guide you through the steps to ensure your fruits and vegetables retain their nutritional value and vibrant taste long after their harvest season. So roll up your sleeves and get ready to discover the secrets of preserving your garden’s harvest for year-round healthy recipes that will leave your taste buds satisfied.
Canning
Introduction to canning
Canning is a fantastic way to preserve your garden harvest and enjoy the benefits of fresh produce year-round. It involves sealing fruits and vegetables in airtight containers, such as glass jars, to prevent spoilage and retain their nutritional value. By following a few simple steps, you can ensure that your canned foods remain delicious and safe to consume for an extended period.
Tools and equipment needed for canning
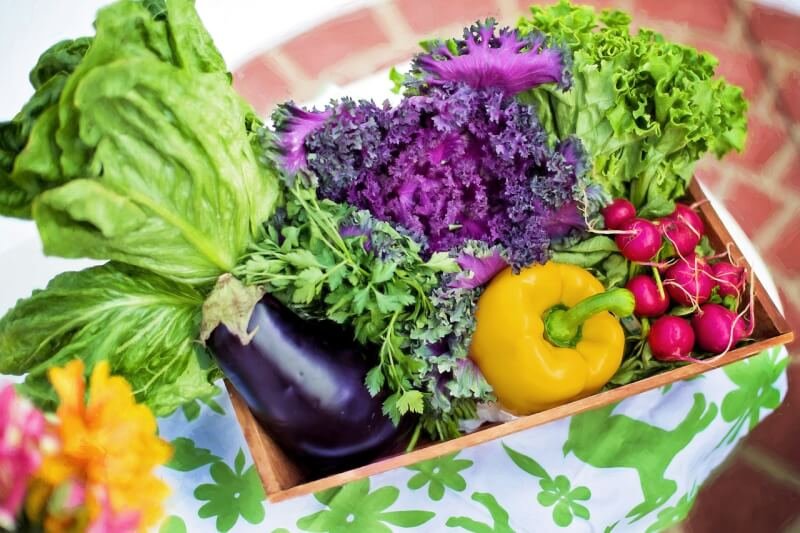
To get started with canning, you’ll need a few essential tools and equipment. These include:
Mason jars: These are the go-to choice for canning due to their durability and ability to withstand high temperatures.
Canning lids and bands: These are essential for sealing the jars and creating an airtight environment.
Canning pot: A large pot with a rack is ideal for processing the jars in boiling water.
Funnel: A funnel helps to pour hot liquids or solids effortlessly into the jars without any spills.
Jar lifter: This handy tool allows you to safely and securely lift hot jars in and out of boiling water.
Bubble remover and headspace tool: These tools help remove air bubbles from the jars and ensure the proper amount of headspace for safe sealing.
Steps for canning vegetables and fruits
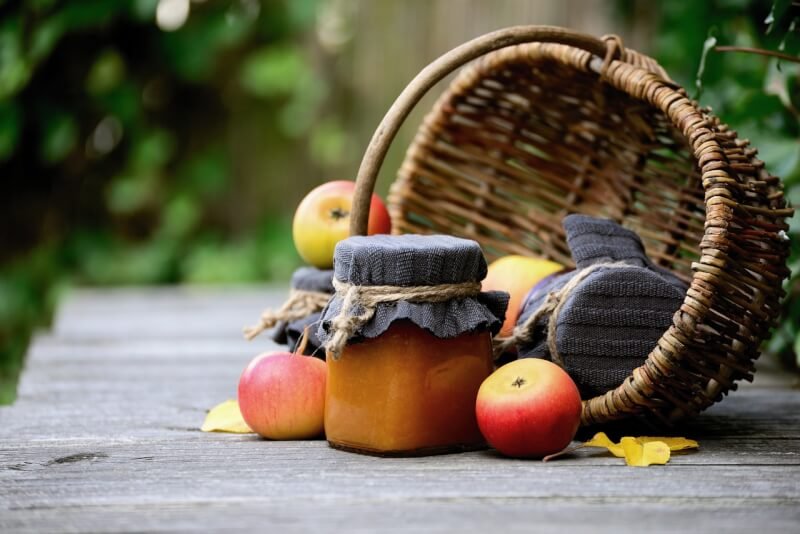
When it comes to canning vegetables and fruits, the process is generally the same, with slight variations depending on the specific produce and recipe. Here is a general guide to help you through the canning process:
Prepare your produce: Wash and peel the fruits or vegetables, removing any bruises or blemishes. Cut them into suitable sizes for canning.
Prepare the jars: Wash the jars, lids, and bands with hot, soapy water. Rinse them thoroughly and inspect for any chips or cracks. Place the jars in a canning pot filled with water and bring it to a simmer to keep them hot.
Prepare the canning liquid: Depending on the recipe, you may need to prepare a canning liquid, such as a syrup or brine.
Fill the jars: Using a funnel, carefully fill each jar with the prepared fruits or vegetables, leaving the appropriate headspace as specified in the recipe. Remove any air bubbles using a bubble remover tool.
Seal the jars: Wipe the jar rims clean, ensuring there are no food particles or liquid residue. Place a lid on each jar, followed by a band, and tighten until just fingertip tight.
Process in boiling water: Using a jar lifter, carefully place the filled and sealed jars into the boiling water in the canning pot. Ensure that there is enough water to cover the jars by at least one inch. Process them according to the recommended processing time for the specific recipe and altitude.
Remove and cool: Once the processing time is complete, use the jar lifter to carefully remove the jars from the boiling water and place them on a towel-covered countertop. Allow the jars to cool undisturbed for 12 to 24 hours.
Check the seals: After the cooling period, check the seals by pressing down on the center of each lid. If it doesn’t flex or make a popping sound, the jar is successfully sealed. Any unsealed jars should be refrigerated and consumed within a few days.
Proper storage of canned foods
Proper storage is crucial to maintain the quality and safety of your canned foods. Follow these guidelines for storing your canned fruits and vegetables:
Label and date your jars: It’s essential to label each jar with its contents and the date of canning. This ensures that you can easily identify the specific food and keep track of its freshness.
Find a cool, dark, and dry location: Store your canned foods in a location with stable temperatures between 50°F and 70°F (10°C to 21°C). Avoid areas exposed to direct sunlight or excessive heat, as they can accelerate spoilage.
Check for signs of spoilage: Before using any canned food, inspect the jar for any signs of spoilage, such as bulging lids, leaking liquids, or unusual odors. If you notice any abnormalities, discard the contents immediately.
Rotate your stock: To keep your canned foods as fresh as possible, practice a “first in, first out” system. Use the oldest jars first, ensuring that nothing sits on the shelf for an extended period.
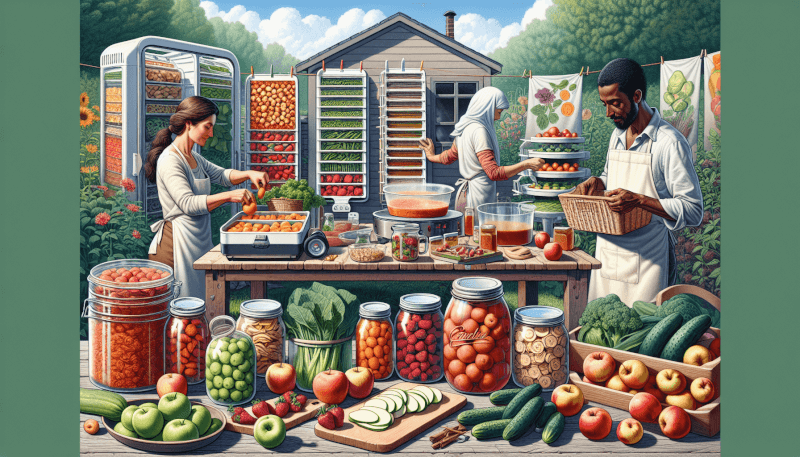
Benefits of canning
Canning offers several advantages, making it a popular preservation method for home gardeners. Here are some benefits of canning your garden harvest:
Nutritional value preservation: Canning allows you to preserve the fresh produce at its peak ripeness, locking in essential nutrients for year-round consumption.
Convenience and accessibility: Having a pantry stocked with home-canned fruits and vegetables ensures you always have healthy ingredients readily available for cooking and snacking.
Cost savings: Canning your garden harvest helps reduce food waste and can potentially save you money by preserving the excess produce instead of purchasing canned goods from the store.
Control over ingredients: When you can your own fruits and vegetables, you have control over the ingredients used, allowing you to avoid artificial preservatives, excessive sodium, or other additives commonly found in store-bought canned goods.
Tastes like summer: Opening a jar of home-canned peaches or tomatoes during the colder months can transport you back to the warmth and flavors of summer, providing a delightful culinary experience.
By mastering the art of canning, you can savor the flavors of your garden and enjoy a variety of nutritious foods throughout the year. The skills and knowledge you gain from canning will not only help you preserve your harvest but also connect you with age-old traditions of preserving food for longevity and sustainability. So, roll up your sleeves, grab those mason jars, and embark on your canning journey!
