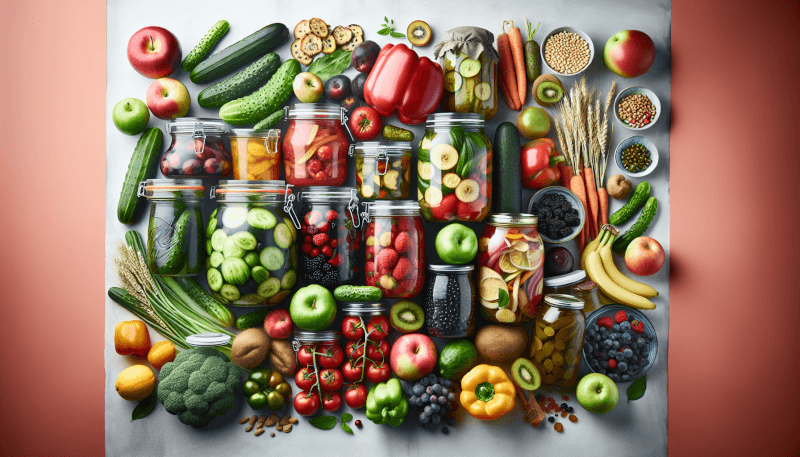
Ready to make your garden produce last all year long? Look no further! In this article, we’ll explore the best methods to preserve your homegrown fruits and vegetables, ensuring that you can enjoy their freshness and flavors even when they’re out of season. From canning and freezing to dehydrating and pickling, we’ve got you covered with simple and effective techniques that will allow you to savor the bountiful harvest from your own garden for months to come. Discover the secrets to preserving your garden’s treasures and get ready to transform them into delicious dishes whenever your taste buds desire. Let’s get started!
Canning
Preserving your garden produce through canning is a fantastic way to ensure that you can enjoy the flavors of summer all year round. There are two main methods of canning: water bath canning and pressure canning. Water bath canning is suitable for high-acid foods such as fruits, pickles, and jams, while pressure canning is necessary for low-acid vegetables and meats. Both methods involve sealing the produce in jars to prevent spoilage and to maintain their quality for a long period of time.
When it comes to choosing the right containers for canning, it is crucial to opt for glass Mason jars with two-piece lids. These jars are specifically designed for canning and provide an airtight seal. Be sure to check for any cracks or chips in the jars before using them and clean them thoroughly with hot, soapy water.
The process of canning fruits begins with selecting fresh, ripe fruits that are free from any blemishes or bruises. Wash and peel the fruits as necessary, removing any stems, seeds, or pits. Next, prepare a syrup or a fruit juice that will serve as the packing liquid. Pack the fruits tightly into the jars and cover them with the syrup or juice, leaving a proper headspace. Finally, process the jars in either a water bath canner or a pressure canner according to the specific instructions for each method.
Similar to canning fruits, canning vegetables also requires careful selection and preparation. Start by selecting fresh vegetables that are at the peak of their ripeness. Wash and chop the vegetables into the desired size and then blanch them in boiling water to maintain their color and texture. Pack the blanched vegetables tightly into the jars, leaving the appropriate headspace. Finally, process the jars in a pressure canner according to the specified time and pressure for each type of vegetable.
Freezing
Freezing your garden produce is another popular method of preserving their flavors and nutritional value. It is a simple and convenient way to store fruits and vegetables without losing their taste or texture. However, proper preparation and packaging are essential to maintain their quality during freezing.
Before freezing the produce, it is important to prepare them properly. Start by washing and cleaning the fruits or vegetables thoroughly. Remove any stems, cores, or seeds, and cut them into the desired size or shape. Blanching the vegetables in boiling water before freezing helps to retain their color and texture. However, not all fruits and vegetables require blanching, so be sure to check the specific requirements for each type.
Choosing the right containers and packaging materials is crucial for successful freezing. Opt for freezer-safe containers or bags that are sturdy and can withstand low temperatures without cracking or breaking. Remove as much air as possible from the bags or containers to prevent freezer burn. It is also recommended to label each package with the date and contents for easy identification later on.
To freeze fruits, arrange them in a single layer on a baking sheet lined with parchment paper and place it in the freezer until the fruits are firm. Then transfer the frozen fruits to the prepared containers or bags, making sure to remove any excess air. Seal the containers tightly and place them back in the freezer.
For freezing vegetables, blanch them in boiling water as mentioned earlier. After blanching, transfer the vegetables to an ice bath to stop the cooking process and preserve their color. Once cooled, drain the vegetables well and pack them into the containers or bags, removing any excess air. Seal tightly and place them in the freezer for long-term storage.
Drying
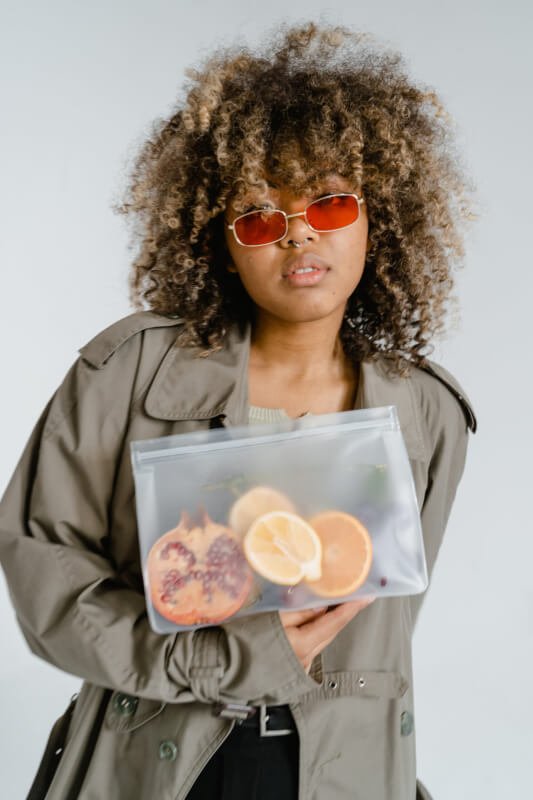
Drying your garden produce is an ancient method of preservation that concentrates their flavors, extends their shelf life, and requires no refrigeration. There are various techniques for drying fruits and vegetables, including sun drying and oven drying.
Sun drying is an easy and cost-effective way to dry produce if you live in a warm and dry climate. Simply wash and prepare the fruits or vegetables as necessary and spread them out in a single layer on a clean and dry surface, such as a baking sheet or a drying rack. Place the produce in direct sunlight, preferably in a well-ventilated area. Allow the fruits or vegetables to dry naturally, turning them occasionally to ensure even drying. The drying time will vary depending on the type of produce and the weather conditions.
If sun drying is not feasible, oven drying is a convenient alternative that can be done indoors. Preheat your oven to a low temperature, around 140°F (60°C), and place the prepared fruits or vegetables on a baking sheet in a single layer. Leave the oven door slightly ajar to allow moisture to escape. It is essential to monitor the drying process closely to avoid over-drying or burning the produce.
Choosing the right produce for drying is important to achieve the best results. Select fruits and vegetables that are fully ripe and free from any bruises or blemishes. Some fruits that are commonly dried are apples, apricots, bananas, and berries. For vegetables, options like tomatoes, peppers, mushrooms, and herbs work well.
Once dried, store the fruits or vegetables in airtight containers or glass jars. It is crucial to ensure that there is no moisture present as it can cause the produce to spoil. Properly dried and stored fruits and vegetables can last for several months or even up to a year, providing a delicious and nutritious addition to your recipes.
Fermenting
Fermentation is a process that converts sugars in fruits or vegetables into alcohol or acids by the action of yeasts or bacteria. This method not only preserves the produce but also enhances their flavors and adds a unique tanginess to them. Fermented vegetables, such as sauerkraut and kimchi, are not only delicious but also packed with probiotics that are beneficial for gut health.
Choosing the right produce is essential for successful fermentation. Opt for fresh and organic vegetables that are free from bruises or blemishes. Vegetables like cabbage, carrots, radishes, cucumbers, and beets work well for fermentation. It is important to wash the vegetables thoroughly and remove any outer leaves or stems.
The process of fermenting vegetables begins with shredding or cutting them into thin slices or small pieces. Next, create a brine solution by dissolving salt in water. The ratio of salt to water varies depending on the specific recipe and desired taste. Immerse the vegetables in the brine solution, making sure they are fully submerged. You can use weights or a fermentation kit to keep the vegetables submerged.
Cover the fermenting vessel with a lid or a cloth to allow the gases produced during fermentation to escape while preventing any contaminants from entering. Place the vessel in a cool and dark place, preferably at room temperature, and let the fermentation process occur. The duration of fermentation varies depending on the recipe and the desired level of tanginess. Taste the vegetables regularly to monitor the fermentation process and stop it at the desired level of acidity.
Once the fermentation is complete, transfer the fermented vegetables to clean glass jars or containers and store them in the refrigerator. Fermented vegetables can last for several months when stored properly, and the flavors will continue to develop over time. These tangy and flavorful vegetables can be used in a variety of dishes and are a great addition to your culinary creations.
Pickling
Pickling is a time-honored method of food preservation that involves preserving fruits or vegetables in a vinegar-based brine. The brine not only extends the shelf life of the produce but also enhances their flavors with a delightful tanginess. There are two main methods of pickling: water bath pickling and fermented pickling.
Water bath pickling is the most common method used for pickling fruits and vegetables. It involves submerging the produce in a vinegar-based brine and processing the jars in a water bath canner to ensure proper preservation. Choosing the right produce is crucial for successful pickling. Opt for fresh, firm fruits or vegetables that are free from any bruises or blemishes. Cucumbers, onions, peppers, green beans, and beets are popular choices for pickling.
Prepare the produce by washing them thoroughly and cutting them into the desired size or shape. Create a pickling brine by combining vinegar, water, salt, sugar, and spices in a large saucepan. Bring the brine to a boil, stirring until the salt and sugar dissolve completely. Add the prepared produce to the boiling brine and cook for a few minutes until they are slightly tender or until the desired texture is achieved.
Pack the hot produce tightly into sterilized jars and pour the hot brine over them, leaving the appropriate headspace. Remove any air bubbles by gently tapping the jars and adjust the headspace if necessary. Finally, process the jars in a water bath canner according to the specific instructions for pickling.
Jams and Jellies
Making homemade jams and jellies is a delightful way to preserve the flavors of your favorite fruits and enjoy them throughout the year. The process involves boiling fruit pulp or juice with sugar until it reaches a thick, spreadable consistency. Choosing the right fruits and following proper steps is essential for creating delicious jams and jellies.
When it comes to choosing the right fruits for jams and jellies, it is important to select ripe, flavorful fruits that are at the peak of their season. Some popular choices include strawberries, raspberries, blackberries, blueberries, and peaches. Make sure to wash and remove any stems or pits from the fruits before using them.
The process of making jams typically involves cooking crushed or chopped fruits with sugar and lemon juice until the mixture thickens and reaches the desired consistency. The sugar acts as a preservative and helps to set the jam. Follow a trusted recipe that provides accurate measurements and cooking times to achieve the perfect texture and flavor.
Jellies, on the other hand, are made from fruit juice rather than crushed fruits. Extract the juice from your chosen fruits either by using a juicer or by cooking the fruits and straining the liquid. Combine the fruit juice with sugar and lemon juice, then boil the mixture until it thickens and passes the gel test. The gel test is performed by placing a small amount of the hot mixture onto a chilled plate and checking if it forms a gel-like texture.
Once the jam or jelly has reached the desired consistency, quickly ladle it into sterilized jars, leaving the appropriate headspace. Remove any air bubbles, wipe the rim of the jars to ensure a clean seal, and secure the lids tightly. Process the jars in a water bath canner according to the specific instructions for jams and jellies.

Making Sauces and Condiments
Creating your own sauces and condiments using your garden produce is a fantastic way to add flair and personalized flavors to your meals. Whether it’s a tangy tomato sauce, a zesty salsa, or a homemade ketchup, making these flavorful accompaniments is a rewarding and simple process.
When choosing produce for sauces and condiments, opt for ripe and flavorful ingredients. Tomatoes, peppers, onions, garlic, and herbs are commonly used in various types of sauces. Be sure to wash and prepare the produce as necessary, removing any stems, seeds, or skins.
The steps for making sauces and condiments vary depending on the specific recipe, but most involve cooking the ingredients together to develop the flavors and then using a blender or food processor to achieve the desired consistency. Follow a trusted recipe that provides accurate measurements and cooking times for the best results.
Once the sauces or condiments have been prepared, transfer them to clean, sterilized jars or bottles. It is important to ensure that the containers are airtight to prevent spoilage. Store them in the refrigerator or process the jars in a water bath canner for long-term shelf-stable storage. Homemade sauces and condiments are a wonderful addition to your meals and can elevate your dishes with their unique flavors.
Creating Herb Infusions and Oils
Using herbs to infuse oils or create flavorful infusions is a fantastic way to incorporate the aromas and tastes of your garden into your culinary creations. Herb-infused oils are versatile and can be used for cooking, dressing salads, or even as a dipping oil for bread. Herb infusions, on the other hand, are concentrated liquids that can be used as flavorings in various recipes.
Choosing the right herbs and oils is crucial for creating delicious infusions and oils. Opt for fresh herbs that are at the peak of their growth and flavor. Popular herbs for infusions and oils include basil, rosemary, thyme, oregano, and mint. As for the oils, choose high-quality oils such as olive oil, sunflower oil, or grapeseed oil.
To create herb infusions, start by bruising or crushing the fresh herbs slightly to release their flavors. Place the herbs in a clean glass jar and cover them with hot water. Allow the mixture to steep for a specific period of time, depending on the herbs and desired strength of the infusion. Strain the liquid through a fine-mesh sieve or cheesecloth and store in clean, sterilized jars or bottles.
For herb-infused oils, the process is similar, but instead of hot water, use your chosen oil. Combine the bruised herbs with the oil in a clean glass jar. Allow the mixture to steep for a specific period of time, typically a few weeks, in a cool and dark place. Strain the oil through a fine-mesh sieve or cheesecloth and transfer it to clean, sterilized jars or bottles.
Properly stored herb infusions and oils can last for several months, enhancing the flavors of your recipes and offering a taste of your garden all year round.
Dehydrating
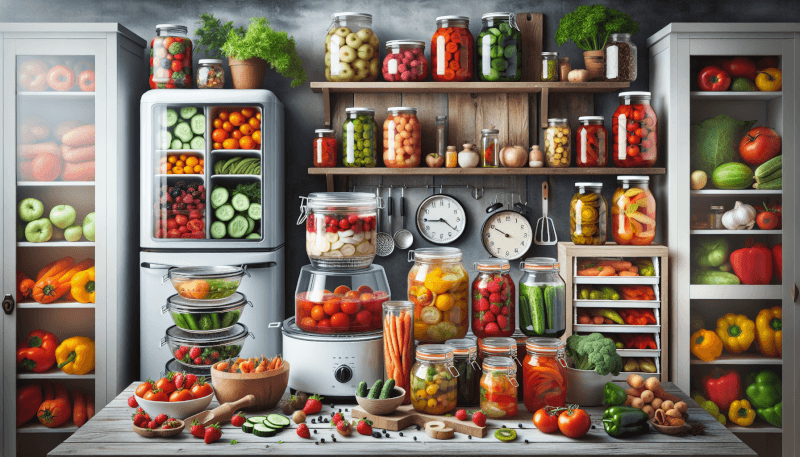
Dehydrating fruits and vegetables is a wonderful way to preserve their flavors and nutritional value while creating delicious and portable snacks. The process involves removing the moisture from the produce, which inhibits the growth of bacteria and molds, ensuring their long-term shelf stability.
When choosing produce for dehydrating, opt for fruits and vegetables that are ripe but firm. Proper dehydration will concentrate their flavors, so it is important to start with good-quality produce. Some popular options for dehydrating include apples, bananas, mangoes, strawberries, tomatoes, and bell peppers.
Choosing the right method of dehydrating is important to achieve the best results. If you live in a dry and warm climate, sun drying is a cost-effective option. Wash and prepare the fruits or vegetables as necessary and arrange them in a single layer on a clean and dry surface. Place the produce in direct sunlight, preferably in a well-ventilated area. Allow the fruits or vegetables to dry naturally, turning them occasionally to ensure even drying. The drying time will vary depending on the type of produce and the weather conditions.
For those who don’t have access to ample sunlight, oven drying is a convenient alternative. Preheat your oven to a low temperature, around 140°F (60°C). Place the prepared fruits or vegetables on a baking sheet lined with parchment paper in a single layer. Leave the oven door slightly ajar to allow moisture to escape. Monitor the drying process closely to avoid over-drying or burning the produce.
Once fully dehydrated, the fruits or vegetables should be leathery, brittle, or crisp, depending on the specific produce. Remove them from the drying surface and allow them to cool completely. Store the dehydrated fruits or vegetables in airtight containers or glass jars in a cool, dark place. Properly dehydrated produce can last for several months or even up to a year, providing a healthy and convenient snack option.
Root Cellaring
Root cellaring is an age-old method of preserving fruits and vegetables by storing them in a cool, dark, and humid environment. This traditional method allows produce to be stored for extended periods, providing fresh ingredients even during the winter months.
Choosing the right produce for root cellaring is crucial as not all fruits and vegetables are suitable for this method. Vegetables like potatoes, carrots, beets, turnips, and onions can be successfully stored in a root cellar. Fruits such as apples, pears, and squash also fare well in this environment. It is important to select fresh, undamaged produce for optimum storage.
Before storing the produce, it is essential to prepare them properly. Remove any excess dirt or soil from the vegetables, but do not wash them as moisture can cause spoilage. Trim any damaged or rotting parts from the fruits and vegetables, as they can quickly spread to the rest of the produce in storage.
Creating the ideal conditions for root cellaring is key to successful preservation. The storage space should be cool, preferably between 32°F (0°C) and 40°F (4°C). The humidity level should be around 90%, as too dry or too moist conditions can lead to spoilage. Ventilation is also important to ensure proper air circulation.
Store the produce in bins or crates made of wood or sturdy plastic. Place a layer of straw, sawdust, or sand at the bottom of the container to provide insulation and reduce moisture. Arrange the fruits and vegetables in a single layer without allowing them to touch each other. Periodically check the stored produce and remove any spoiled or damaged items to prevent the spread of decay.
With proper rotation and monitoring, root cellaring can provide a steady supply of fresh produce throughout the winter months. Enjoy the flavors of your garden long after the harvest season has ended.
Preserving your garden produce using various methods ensures that you can enjoy the flavors of your hard work and creativity for months or even years to come. Whether you choose canning, freezing, drying, fermenting, pickling, making jams and jellies, creating sauces and condiments, infusing oils, dehydrating, or root cellaring, each method offers a unique way to preserve the flavors and nutritional value of your garden produce. With a little effort and planning, you can savor the taste of your garden bounty in all seasons.
